

coconut-protein-lemon-slice
A delicious lemon slice that's healthier than your average!

Coconut Protein Lemon Slice
Even in the world of healthy, protein packed desserts, one occasionally needs to treat thyself - to a slightly less healthy but still protein packed dessert. This lemon curd slice is free from refined sugar, absolutely protein packed (thanks Bare Blends and eggs) lower in carbs than the regular variety, and it honestly tastes like an absolute dreamboat with far less accompanying guilt than the regular sort of dreamboat.
- Prep 20 min
- Serves 10

Ingredients
- 3 eggs
- 1 egg yolk
- 50 gram grass-fed butter, room temperature
- 2 tablespoon maple syrup
- 1 tablespoon 1 large tablespoon coconut oil, room temperature
- juice of one medium-large lemon
- Fine zest of one medium large lemon
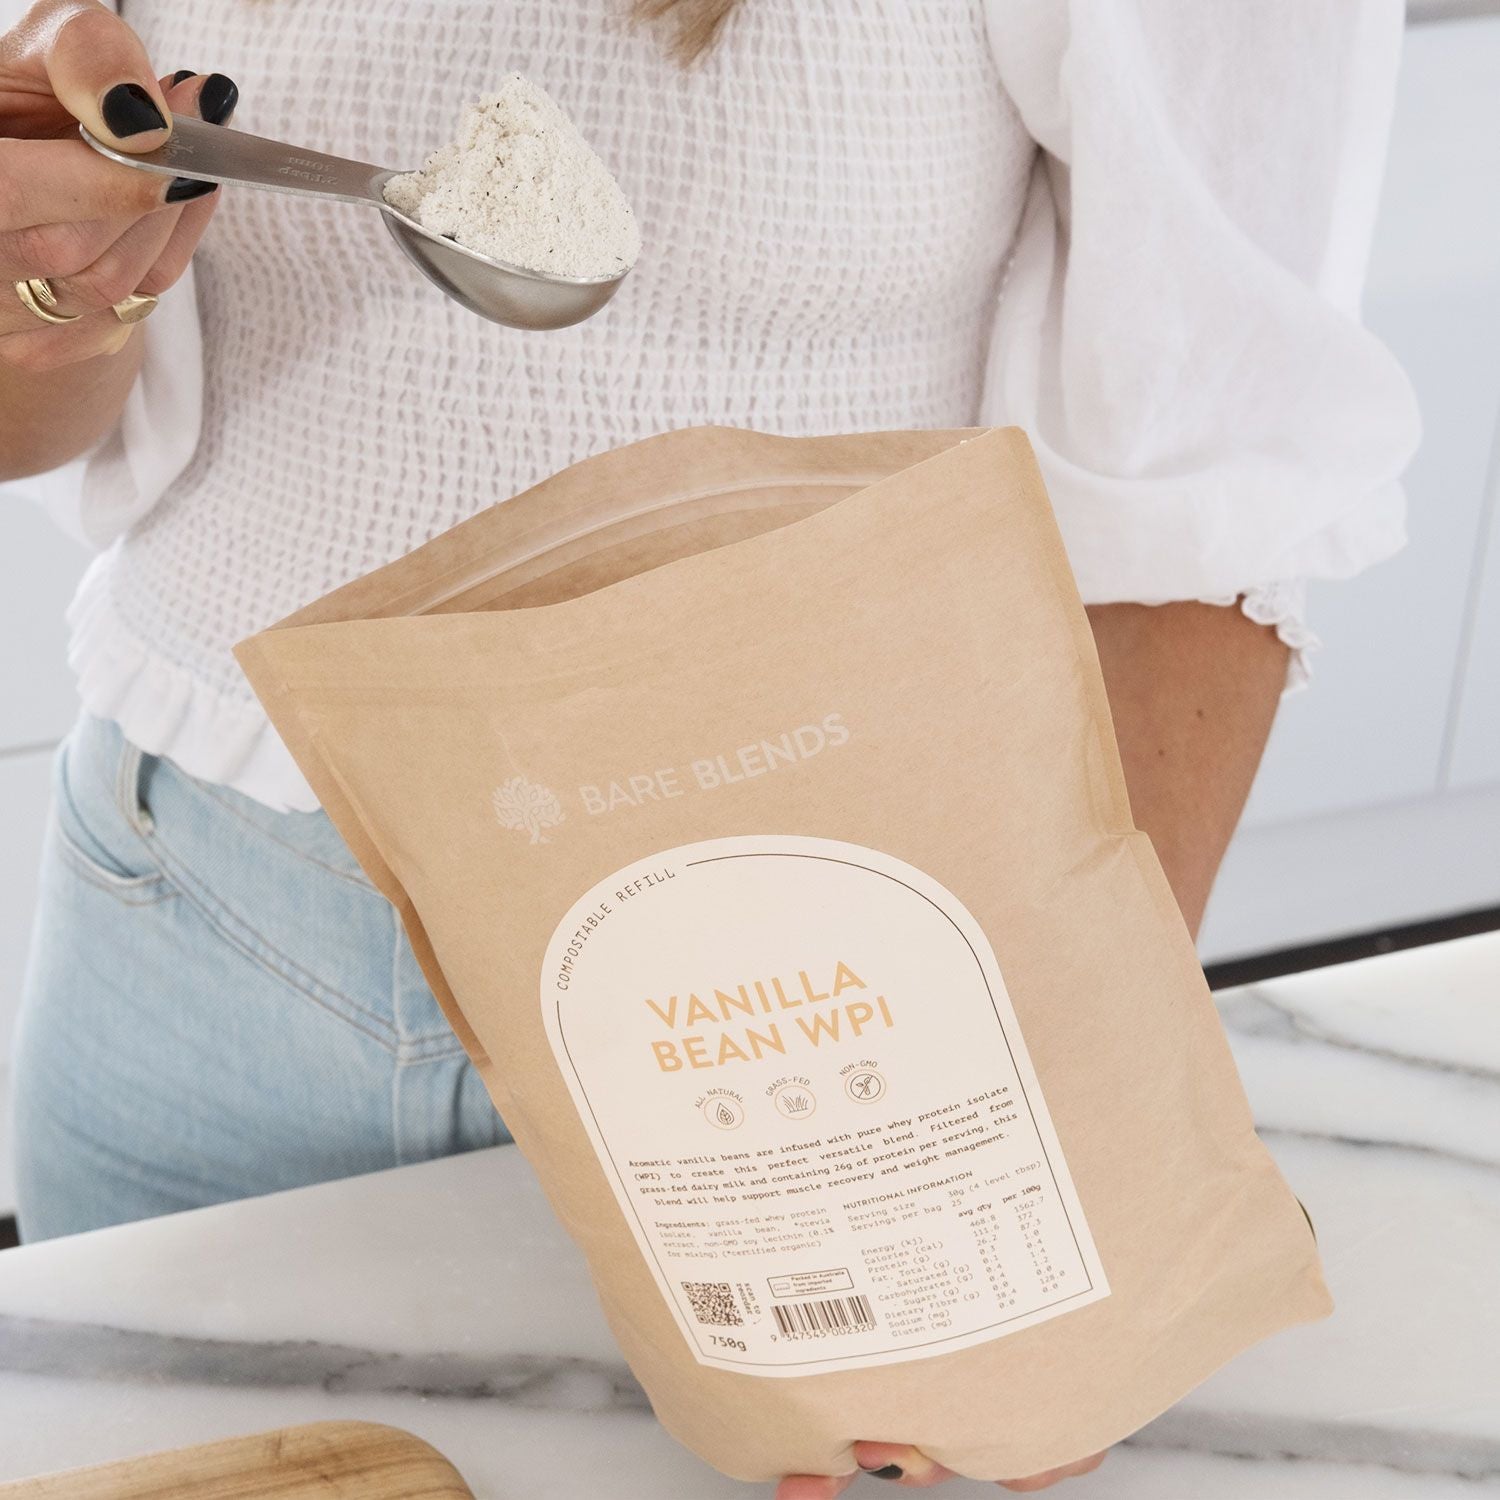
- 0.25 cup Bare Blends Vanilla Whey Protein Isolate
- 0.25 cup desiccated coconut
- 0.25 cup almond meal
- 2 tablespoon coconut oil, melted
- 1 tablespoon maple syrup
Directions
- In a steel bowl, crack your eggs and yolk, and add the lemon juice, lemon zest and maple syrup. Whisk thoroughly until combined, and then add the butter and coconut oil. (Said in best cooking show voice) Today we are using the double boiler method, so half fill a smaller saucepan with water, and pop it over a medium heat, placing the steel bowl on top. Make sure the water doesn’t ever touch the bowl.
- Continue whisking the curd as it cooks, please don’t leave it alone or else you might end up with scrambled curd, and nobody likes scrambled curd.
- KEEPING AN EYE ON THE CURD, quickly mix together the ingredients for the base, and press them into a tin of your choice. I used a 20cmx10cm silicon base, but also had success with a regular tin – the removal process just involved a bit of patience. Once you have pressed the base into the tin, pop it in the fridge for about 10 minutes to harden up. Pop your oven on right about now, to 180 degrees Celsius.
- After about ten minutes, your curd should be ready. You are looking for a thick, custard like consistency. Once you are happy with it, take it off the heat and allow to cool for a bit. I popped mine in the fridge for a little while after the initial heat was gone.
- Spread the curd over the tart base, and pop into the oven for 15-20 minutes. Remove and allow to cool completely before slicing – if you use a 20 x 10cm tin you should get ten little slices. Try not to eat them all in one go.